How to Cut a Multi-Layer Stencil: A Beginner’s Guide
Multi-layer stencils look intimidating. We get it — the crisp colour transitions, the depth, the fine detail that seems impossible to achieve with a blade and a sheet of plastic. But here’s the truth: with the right approach, anyone can create striking street art, just like the pieces you see plastered across Melbourne’s Hosier Lane. We’ve broken the process down into manageable steps, from choosing your materials to aligning your final layer. Whether you’re aiming for your first two-colour piece or dreaming of entering the Australian Stencil Art Prize, this guide will get you cutting with confidence.
What Is a Multi-Layer Stencil and Why Use One?
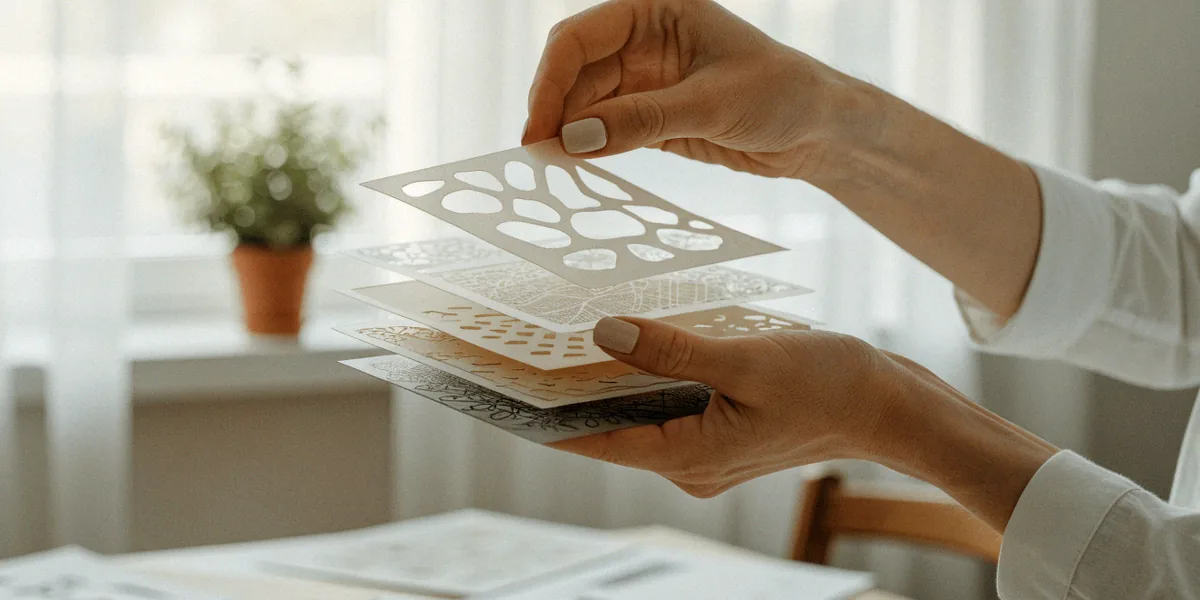
A multi-layer stencil is exactly what it sounds like: an image broken into separate stencils, each representing one colour or tonal layer. You spray them one after another, building up the artwork like a screen print. The result is depth, contrast, and colour separation that a single sheet simply can’t deliver.
Walk through Melbourne — widely considered the street art capital of Australia — and you’ll see this technique everywhere. The complex urban art in laneways like Hosier Lane relies on layered stencils to create everything from photorealistic portraits to bold graphic designs. Australian street artists have pushed this method hard, and it’s now a staple of the local scene.
Single-layer vs multi-layer stencils
A single-layer stencil gives you one colour and relies on negative space for the rest. It’s fast, cheap, and great for bold silhouettes or text. A multi-layer stencil, by contrast, lets you reproduce shading, skin tones, skies, and gradients. The trade-off is time and precision — you’re cutting multiple sheets and aligning them perfectly with each spray.
Benefits for spray paint stencils
- Colour separation: Each layer isolates one colour, so you control exactly where paint lands.
- Depth and realism: Layering light over dark (or vice versa) creates dimension that reads from a distance.
- Reusability: Once cut, a set of layers can be sprayed hundreds of times.
- Scalability: The same design works on a small canvas or a large wall.
Materials You’ll Need for Cutting Multi-Layer Stencils
Before you cut anything, gather your gear. The good news for Australian artists is that local brands like Mont Marte and Derivan offer affordable stencil supplies, so you don’t need to import expensive materials to get started.
Choosing the right stencil film
Spray paint stencils often use acetate or Mylar sheets for durability. Acetate is clear, easy to cut, and cheap — ideal for beginners. Mylar is tougher and resists tearing, which matters if you’re cutting intricate details or reusing the stencil many times. Both hold up well against spray adhesive and repeated paint coats. Avoid thin paper or cardboard; they warp and bleed.
Cutting tools and safety
Here’s what we recommend having on hand:
- Acetate or Mylar sheets (A4 or A3 to start)
- A sharp X-Acto knife or scalpel with spare blades
- A self-healing cutting mat
- Spray adhesive (repositionable, not permanent)
- Spray paint in your chosen colours
- Masking tape and a pencil for registration marks
- A metal ruler for straight edges
Always cut away from your body, keep fingers behind the blade, and replace blades the moment they start dragging. A dull blade tears acetate and ruins fine lines.
Designing and Separating Your Layers
You can’t cut a multi-layer stencil without first separating your image into colour zones. Photoshop is the industry standard, but free tools like GIMP do the job perfectly well. Many Australian artists start with high-contrast photos of local landmarks — the Sydney Opera House, a Melbourne tram, or a favourite laneway mural — because strong shapes translate cleanly into layers.
Planning your colour palette
Keep it simple at first. Two or three colours are plenty for a beginner. Think in terms of light, mid-tone, and shadow. Assign each tone its own sheet. If you’re spraying on a coloured surface, that background can count as one of your layers, saving you a cut.
Creating registration marks
Registration marks are small alignment guides — usually an L-shape or cross — placed in the same position on every layer. Without them, your layers will drift and your image will look blurry or misaligned. Mark them on your digital file before printing, and transfer them onto each sheet of acetate. We can’t stress this enough: registration marks are the difference between a clean print and a mess.
Step-by-Step: Cutting Your First Multi-Layer Stencil
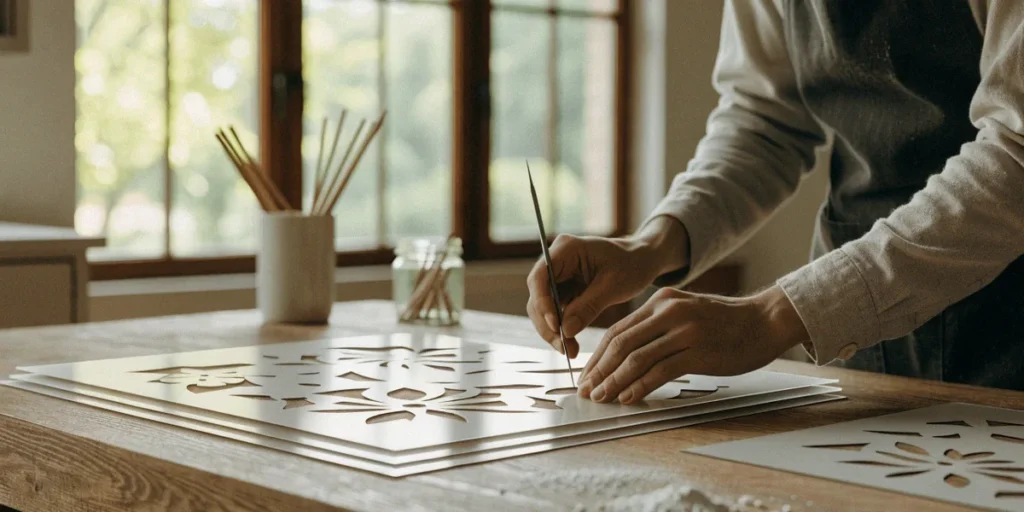
Now for the actual cutting. Print or trace each layer onto its own sheet of acetate. Tape the sheet to your cutting mat so it doesn’t shift. Then work through one layer at a time, cutting slowly with smooth, continuous strokes rather than short, jagged ones.
Patience is everything here. Rushing leads to torn bridges and broken details. The skills you see in art prizes Australia — like the Australian Stencil Art Prize, the national competition for stencil artists — are built on hours of exactly this kind of practice.
Cutting techniques for clean edges
- Cut toward yourself in controlled pulls, rotating the sheet rather than your wrist.
- For circles and curves, turn the acetate slowly while keeping the blade steady.
- Leave “bridges” — small uncut sections — to hold floating pieces in place.
- Use a fresh blade for every detailed layer.
Handling intricate details
Fine lines and small dots are the hardest part. If a detail is too fragile, thicken it slightly in your design — it’ll still read correctly once sprayed. For tiny islands of colour, consider connecting them to the main stencil with a thin bridge, then touching up the bridge line with a brush afterward if needed.
Spraying and Aligning Your Layers
With your layers cut, it’s time to spray. Position your first stencil using the registration marks, secure it with spray adhesive, and apply a light, even coat. Let it dry, then move to the next layer, aligning the marks exactly. Melbourne street art often uses this method precisely because it delivers crisp, gallery-quality results on rough walls.
Adhering stencils to the surface
Spray adhesive keeps the stencil flat against the surface, which prevents paint from creeping underneath. Use a repositionable adhesive — permanent glue will tear your acetate. For curved or textured surfaces, press the stencil down firmly with your hand before spraying.
Building up colours without drips
Light coats are the rule. Hold the can 20–30 cm from the surface and sweep in steady passes. Multiple thin coats beat one heavy coat every time. Wait for each layer to dry before adding the next, and clean the stencil between colours so you don’t transfer unwanted paint.
Tips for Success and Common Mistakes to Avoid
We’ve made plenty of mistakes so you don’t have to. Test your design on cardboard first — it’s cheap and shows you exactly how the layers interact. Clean your stencils between layers with a damp cloth or methylated spirits. And don’t rush the drying time.
The Australian urban art community is generous with feedback. Share your work in online forums, at local jam sessions, or at events around the country, and you’ll pick up tips faster than any tutorial can teach.
Troubleshooting bleeding and smudging
- Bleeding: Usually caused by too much paint or a stencil that isn’t flat. Use less paint and more adhesive.
- Smudging: Happens when you spray the next layer before the previous one dries. Be patient.
- Blurry edges: A dull blade or a loose stencil. Replace the blade and re-adhere.
Reusing and storing stencils
Wipe each layer clean after use, let it dry completely, then store flat between sheets of baking paper or in a large envelope. Labelled folders keep your registration marks intact, so you can pull the set out months later and spray it again without re-cutting.
FAQ
What’s the best material for a reusable multi-layer stencil?
Mylar is the most durable option and handles repeated spraying well. Acetate is cheaper and easier to cut, making it ideal for beginners. Both are widely available from Australian art suppliers like Mont Marte and Derivan.
How many layers should a beginner start with?
We recommend two or three. It’s enough to see the effect of layering without overwhelming yourself with alignment and drying time. Add more layers once you’re comfortable.
Can I cut multi-layer stencils without Photoshop?
Absolutely. GIMP is free and handles colour separation well. You can also trace layers by hand from a printed photo using a lightbox or a window.
How do I stop my layers from misaligning?
Registration marks are essential. Place identical L-shaped or cross marks on every layer, and align them precisely before each spray. Tape down the stencil once it’s positioned.
Where can I enter stencil art competitions in Australia?
The Australian Stencil Art Prize is the country’s national competition for stencil artists, and it’s a great goal to work toward. Keep an eye on local street art festivals and gallery open calls as well.
Multi-layer stencilling rewards patience more than talent, and every cut teaches you something. Start with a simple two-colour design, test it on cardboard, and refine as you go. When you’re ready, share your work in Australian street art forums and consider entering competitions like the Australian Stencil Art Prize — the skills you build cutting layers in your studio are exactly what the judges are looking for.