Photographing Your Artwork for Submissions: A Guide for Stencil Artists
You’ve spent weeks layering spray paint, perfecting that intricate stencil design, and you’re finally ready to enter the Australian Stencil Art Prize. Then you snap a few quick photos on your phone in the garage, upload them, and wait. Weeks later, you get the email: not selected. Was it the art? The concept? The execution? Sometimes, it’s none of those things. Sometimes, it’s simply that the judges couldn’t see your work properly because the photo was blurry, the lighting was off, or the colours looked nothing like the real thing. It stings, and we’ve seen it happen to brilliant artists who deserved better.
Here at the Australian Stencil Art Prize, we’ve reviewed thousands of entries over the years. We know what makes a submission stand out, and we know how often great stencil art gets overlooked because of poor photography. This guide walks you through everything you need to know to photograph your artwork properly, from choosing the right gear to editing without ruining your piece, and finally submitting files that meet the prize requirements.
Why Your Photos Matter as Much as Your Stencil Art
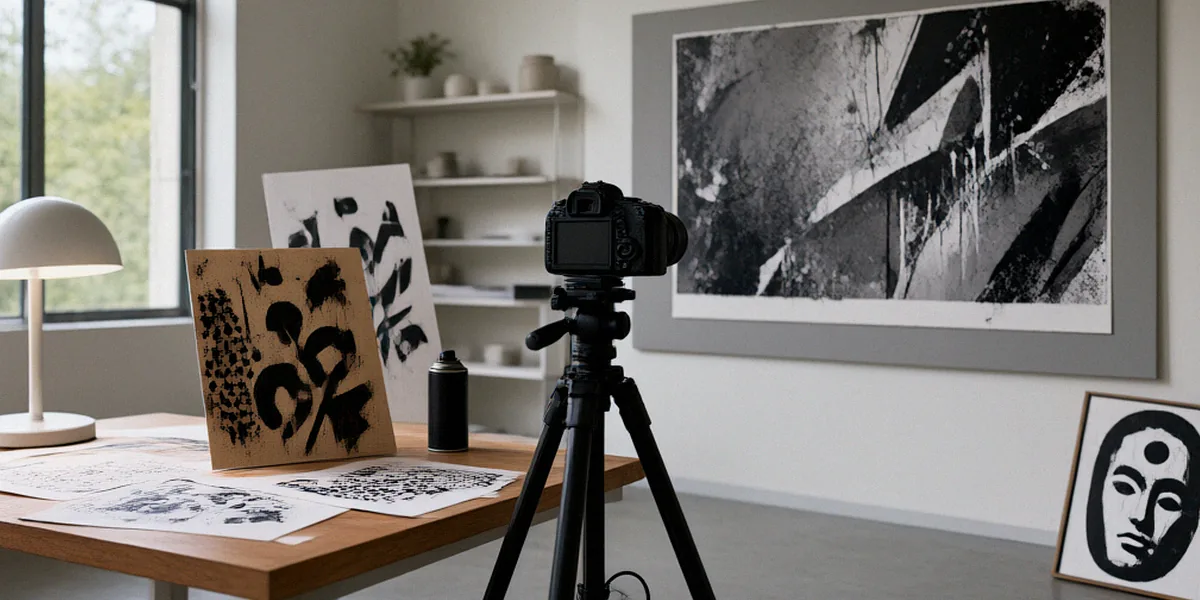
When you enter the Australian Stencil Art Prize, the first thing judges see is not your physical artwork. It’s a digital image on a screen. That image is your handshake, your first impression, and sometimes your only chance to make an impact. If the photo is dark, tilted, or washed out, your stencil art won’t get the attention it deserves, no matter how many hours you poured into it.
The Judge’s First Impression
Our judging panel reviews hundreds of entries, often in a single sitting. They’re looking at thumbnails on laptops and monitors, scrolling quickly before deciding which pieces to examine more closely. A sharp, well-lit photograph stops the scroll. A blurry, poorly framed one gets skipped. It’s that simple. The judges are evaluating your composition, your use of colour, your technical skill with spray paint, and your overall artistic voice, but they can only evaluate what they can actually see.
Common Photography Mistakes That Cost Artists Prizes
We’ve seen the same issues come up year after year. Here are the most frequent mistakes that hurt otherwise strong submissions:
- Shooting in low light and ending up with grainy or dark images
- Using a flash that creates harsh glare on glossy spray paint surfaces
- Photographing at an angle, causing perspective distortion
- Including distracting background elements like cluttered studio walls or random objects
- Submitting files that are too small or too compressed to show detail
- Over-editing to the point where colours no longer match the original artwork
Each of these is avoidable with a bit of preparation. Let’s walk through how to get it right.
Essential Gear for Shooting Stencil Art
You don’t need a professional studio to photograph your stencil art well. You do need to understand your equipment and use it properly. Whether you’re working with a DSLR, a mirrorless camera, or a recent smartphone, the principles are the same: stability, sharp focus, and even lighting.
Camera Choices: DSLR vs. Smartphone
If you have access to a DSLR or mirrorless camera from Canon, Nikon, or Sony, you’ll get more control over settings like aperture, ISO, and shutter speed. These cameras handle low light better and produce larger files, which matters when the Australian Stencil Art Prize requires high-resolution images.
That said, modern smartphones, particularly recent iPhone models and high-end Android devices, can capture excellent images if you use them carefully. The key is to avoid digital zoom, use the highest resolution setting, and ensure your phone is perfectly stable. If your phone is your only camera, that’s fine, just don’t treat the photo session casually.
Must-Have Accessories: Tripods, Lights, and Backdrops
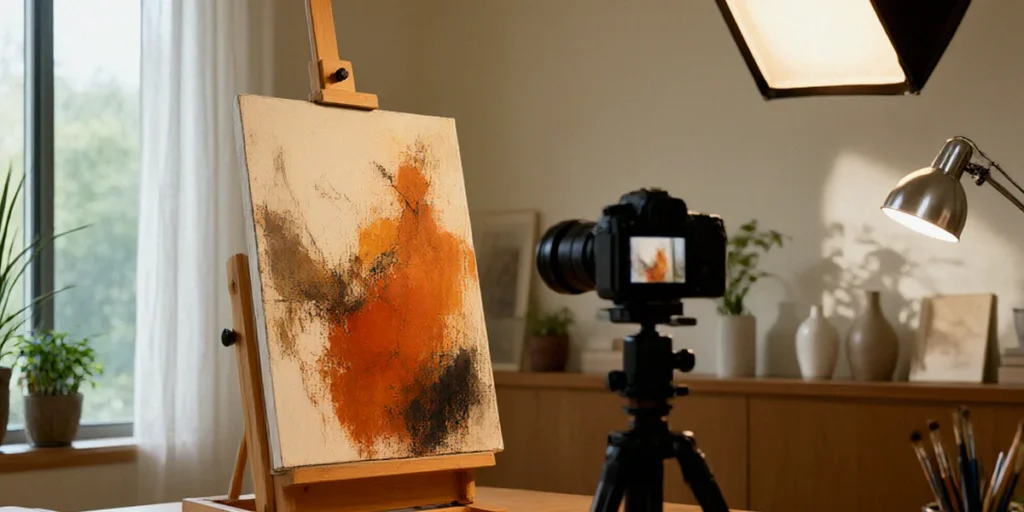
Camera shake is one of the biggest causes of blurry artwork photos. A sturdy tripod eliminates that problem entirely. Pair it with a remote shutter release or your camera’s self-timer to avoid any movement when you press the button.
For lighting, you have options. A basic softbox kit gives you consistent, diffused light that won’t create hot spots on glossy surfaces. If you’re working with natural light, a simple white reflector can bounce light into shadow areas. And for backgrounds, a roll of neutral seamless paper in grey or black works wonders. We’ll cover lighting and backgrounds in more detail next.
Setting Up Your Shot: Lighting and Background
Lighting is where most stencil art photos succeed or fail. Spray paint often has a slight sheen or gloss, and the wrong light source will create reflections that obscure your work. Your goal is even, diffused light that reveals colour and texture without glare.
Natural Light vs. Studio Lighting
Australia has some of the harshest sunlight in the world. Shooting outdoors at midday will blow out highlights and create deep, harsh shadows. If you’re using natural light, aim for an overcast day or position your artwork near a north-facing window (in the southern hemisphere) where the light is soft and indirect. Morning and late afternoon light is gentler than midday sun.
Studio lighting gives you more control. A pair of softboxes positioned at 45-degree angles to your artwork creates even illumination. Avoid pointing lights directly at the surface, as this causes glare on spray paint. Diffusers are your friend here.
Choosing the Right Background for Stencil Art
Your background should never compete with your artwork. Neutral tones work best: mid-grey, black, or white. Grey is often the safest choice because it doesn’t blow out like white or swallow detail like black. Hang your piece flat against the backdrop, or lay it flat and shoot from directly above if the piece allows. Make sure there are no wrinkles, shadows, or stray objects in the frame.
Editing Your Photos Without Losing the Art’s Integrity
Editing is about enhancing what’s already there, not transforming your artwork into something it isn’t. The judges want to see your actual piece, not a heavily filtered version. Basic adjustments are fine. Heavy manipulation is not.
Basic Adjustments Every Artist Should Know
Adobe Lightroom is the industry standard for photo editing, and it’s what many professional artists use. If you prefer free options, GIMP is a capable alternative. Whatever software you choose, focus on these adjustments:
- Cropping: Remove any distracting edges or background clutter, but don’t crop so tightly that you lose the composition
- Exposure: Brighten or darken slightly to match how the piece looks in person
- Colour balance: Correct any colour casts so the hues match your original spray paint colours
- Sharpness: A slight sharpen can help, but over-sharpening creates halos and artefacts
When to Stop: Avoiding Over-Editing
If you find yourself adjusting saturation, contrast, and filters for more than ten minutes, stop. Step away from the screen. Come back and compare your edited image to the physical artwork side by side. If they don’t match, you’ve gone too far. Remember, the judges may see your actual piece if you’re selected as a finalist. A photo that looks nothing like the real thing creates a credibility problem.
Submitting to the Australian Stencil Art Prize: File Requirements
Every competition has specific file requirements, and the Australian Stencil Art Prize is no exception. Submitting the wrong format or a file that’s too small can result in your entry being disqualified before it’s even seen.
Understanding File Formats and Sizes
Most art prizes ask for JPEG or TIFF files at 300 DPI (dots per inch). This resolution ensures your image will look sharp in print and on screen. Check the official prize website for the most current requirements, as they can change from year to year. Generally, you’ll want files that are at least 2MB but no larger than 10MB. If your file is too large, compress it slightly, but don’t sacrifice quality.
Naming and Organising Your Files
Follow the naming conventions specified by the prize organisers. If they ask for “LastName_FirstName_Title.jpg,” do exactly that. Don’t use spaces, special characters, or vague names like “finalversion2.jpg.” Keep a master folder with your original high-resolution files, and create copies for submission so you don’t accidentally overwrite anything.
Final Checks Before You Hit Submit
You’ve shot your photos, edited them carefully, and prepared your files. Before you upload, take a few final steps to ensure everything is in order.
Reviewing on Different Screens
Your photo might look great on your laptop, but how does it look on a phone, a tablet, or a desktop monitor? Colours and brightness vary across devices. Check your images on at least two or three different screens to catch any issues. If it looks good everywhere, you’re probably safe.
Getting a Second Opinion
Ask a fellow artist or a trusted friend to look at your submission photos. They might notice something you’ve overlooked, like a stray reflection, a colour that seems off, or a file that doesn’t meet the requirements. Fresh eyes catch what tired ones miss.
And of course, don’t leave it to the last minute. The Australian Stencil Art Prize has a firm deadline, and technical issues always seem to happen at the worst possible time. Give yourself at least a week of buffer before submissions close.
FAQ
Can I use my smartphone to photograph my stencil art for the Australian Stencil Art Prize?
Yes, you can. Modern smartphones, especially recent iPhone and high-end Android models, are capable of producing submission-quality images if you use good lighting, keep the phone stable, and avoid digital zoom. However, a DSLR or mirrorless camera from Canon, Nikon, or Sony will give you more control and typically produce higher-resolution files.
What resolution should my submission photos be?
We recommend 300 DPI at a size large enough to show detail clearly. Check the official Australian Stencil Art Prize website for the exact specifications, as requirements may vary from year to year. JPEG is the most commonly accepted format.
How do I avoid glare on my spray paint artwork?
Use diffused lighting rather than direct light. Softboxes, overcast natural light, or bouncing light off a white surface all help. Avoid using a camera flash, which creates harsh reflections on glossy spray paint surfaces.
Is it okay to edit my photos in Adobe Lightroom?
Absolutely. Basic edits like cropping, exposure adjustment, and colour correction are expected and encouraged. Just don’t over-edit to the point where your digital image no longer accurately represents the physical artwork.
What background colour is best for photographing stencil art?
Neutral backgrounds work best. Mid-grey is often ideal because it doesn’t create glare or swallow detail. Black and white can also work depending on your artwork’s colours, but grey is the safest all-purpose choice.
Photographing your stencil art well is not just about meeting submission requirements. It’s about respecting your own work enough to present it properly. The time you invest in learning lighting, buying a decent tripod, and mastering basic editing pays off every time you enter a prize, apply for a grant, or share your art online. The Australian Stencil Art Prize attracts incredible talent from across the country, and your photography could be the difference between being overlooked and being celebrated. Take the extra hour. Set up properly. Your art deserves it.