Stencil Art for Beginners: Tools and First Cuts
Our team still laughs about our first stencil attempt. We’d picked a photo of a kookaburra, cut it out of printer paper with kitchen scissors, and sprayed it with a $4 can of paint we found in the garage. The result was a soggy, bleeding blob that looked more like a melted pavlova than a bird. But somewhere in that mess, we saw it — the outline of something real. That mix of frustration and excitement is exactly where every stencil artist starts. If you’re holding a scalpel for the first time and wondering where to begin, this guide walks you through the tools, techniques, and Australian spots that will take you from messy first cuts to work you’re proud to show.
Essential Tools for Stencil Art Beginners
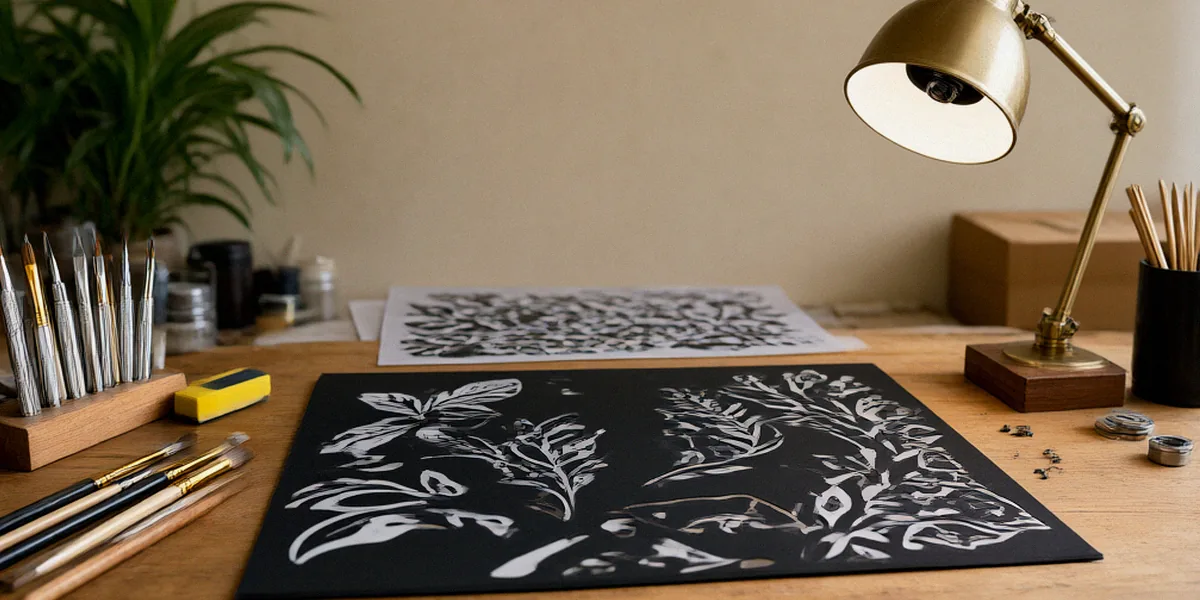
You don’t need a studio full of gear to start, but a handful of quality tools will save you hours of frustration. The difference between a clean stencil and a torn one usually comes down to what you’re cutting and what you’re cutting with.
Choosing the Right Stencil Film
Printer paper is a trap — it tears, curls, and soaks up paint. For reusable stencils, you want stencil film. Mylar is the gold standard: thin, flexible, and tough enough to survive dozens of sprays. Acetate works well too but can crack if you bend it. In Australia, you can pick up stencil film from Art Scene or Eckersley’s Art & Craft, both of which stock online and in-store. For a first project, grab a sheet around 0.2mm thick — thick enough to hold its shape, thin enough to cut cleanly with a fresh blade.
Cutting Tools and Safety
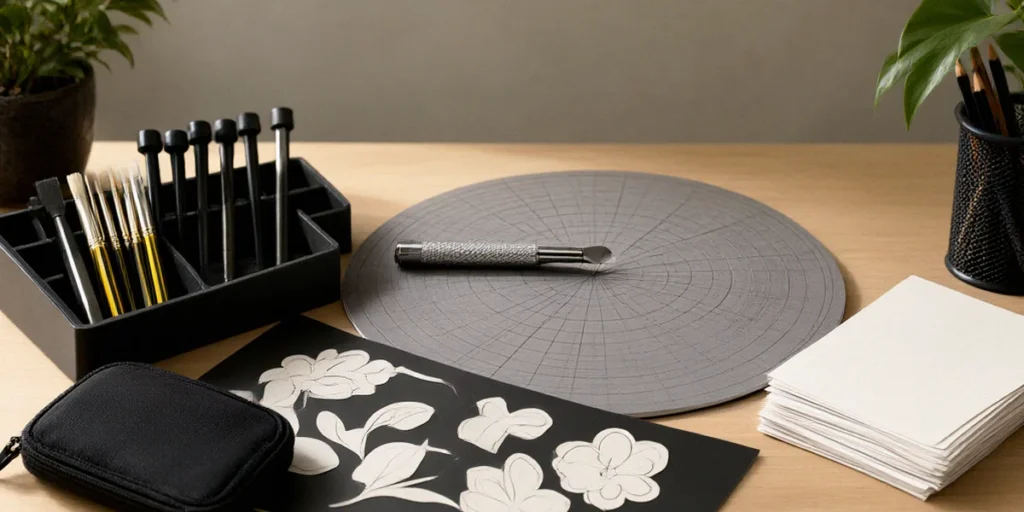
A sharp X-Acto knife (or a scalpel with #11 blades) is non-negotiable. Buy blades in bulk — you’ll go through them faster than you expect, and a dull blade is the number one cause of jagged edges and slipped cuts. Pair it with a self-healing cutting mat so you don’t carve up your kitchen table. Our basic beginner kit looks like this:
- X-Acto knife or scalpel with spare #11 blades
- Self-healing A3 cutting mat
- Stencil film (Mylar or acetate)
- Repositionable spray adhesive
- Painter’s tape
- Masking film or newspaper for overspray
- Nitrile gloves and a dust mask for spraying
Always cut away from your body, keep your fingers behind the blade, and never cut toward a hand holding the film steady. We learned that one the hard way.
Spray Paint Options for Australian Artists
Not all spray paint is created equal. Cheap hardware cans are designed for fences, not fine art — they spit, drip, and dry unpredictably. For stencil work, you want low-pressure artist aerosols with fine nozzles. Montana spray paint (particularly the MTN 94 line) and Ironlak are the two brands Australian stencil artists reach for most. Both are available through Art Scene, Eckersley’s, and specialist graffiti suppliers. MTN 94 is low-pressure and matte, making it ideal for crisp edges. Ironlak offers a huge colour range and is widely stocked across Australia. Start with black, white, and two or three mid-tones before building a bigger palette.
Designing and Cutting Your First Stencil
The design stage is where beginners either set themselves up for success or doom themselves to a shredded stencil. Keep your first design bold, high-contrast, and simple.
Selecting and Preparing Your Image
Pick a photo or graphic with strong light and dark areas — a silhouette, a portrait with clear shadows, or a simple graphic shape. Avoid busy textures and fine details for now. Convert your image to black and white using free software like GIMP or Photoshop, then push the contrast until you’re left with two or three clear tones. This is called posterisation, and it’s the foundation of multi-layer stencil design later on. Print your final design at the exact size you want to cut it.
Transferring and Cutting Techniques
Tape your printed design under your stencil film and cut through both together, or trace it onto the film with a fine marker first. Cut the smallest interior shapes before the larger outlines — this keeps the film stable while you work. Every isolated island of film needs a bridge (a thin strip of material connecting it to the rest of the stencil), or it will fall out when you lift the film. Test your cut on a piece of cardboard before committing to a wall or canvas. This reveals weak bridges, missed cuts, and areas that will bleed.
Common Mistakes to Avoid
Beginners tend to overcomplicate designs, cut too fast, and skip test sprays. Other frequent slip-ups include:
- Using dull blades and tearing the film instead of slicing it
- Forgetting bridges, so letters and shapes drop out mid-spray
- Spraying too close, causing runs and fuzzy edges
- Lifting the stencil too early while paint is still wet
- Not cleaning the stencil between layers, leading to smudged colour
Each of these is fixable with practice, and every artist we know has made all five.
Spray Painting Techniques for Clean Stencils
Cutting is half the craft; spraying is the other half. Technique separates a sharp stencil from a blurry one.
Achieving Crisp Lines
Hold the can 20–30cm from the surface and spray in light, even passes. Build up two or three thin coats rather than one heavy one. Light coats dry fast and won’t creep under the stencil edges. For extra sharpness, spray a light coat of repositionable adhesive on the back of your stencil and press it firmly to the surface — this eliminates the gaps where paint seeps underneath. Low-pressure cans like MTN 94 give you far more control than high-pressure hardware paint.
Layering and Color Blending
Multi-layer stencils work by spraying one colour, letting it dry, then aligning the next stencil layer over the top. Use registration marks — small crosshairs cut into every layer — to line them up accurately. Work from lightest colour to darkest, and let each layer dry fully before adding the next. For soft blends, spray two colours while the first is still slightly tacky, or use a light mist pass to fade one tone into another.
Working with Different Surfaces
Canvas, wood, metal, and concrete all behave differently. Porous surfaces like brick and raw timber soak up paint and need a slightly heavier coat. Smooth surfaces like glass or primed canvas need light passes and a firmly adhered stencil to prevent bleeding. Always test on an offcut of the same material before spraying your final piece.
Where to Practice and Showcase Your Work in Australia
Australia has a genuine street art culture, and there are legal, welcoming places to practice. Sydney’s Graffiti Tunnel at Leichhardt is the classic beginner spot — a legal wall where you can spray without stress. In Melbourne, Blender Studios runs workshops, residencies, and open studio events that connect emerging artists with the scene.
Legal Practice Spaces
Beyond the Graffiti Tunnel and Blender Studios, look for council-approved legal walls in your city. Brisbane, Perth, and Adelaide all have designated practice zones. Practicing legally means you can focus on technique instead of watching over your shoulder.
Community and Online Groups
Join Australian stencil and street art groups on Facebook and Instagram. Sharing work-in-progress photos gets you feedback fast, and most artists are generous with tips. Local art supply stores like Art Scene often run free or low-cost workshops.
Entering Art Prizes and Exhibitions
Once you’ve got a few finished pieces, the Australian Stencil Art Prize is the obvious next step. It’s the country’s flagship stencil art competition, open to emerging and established artists, and past finalists have used it as a launching pad for gallery representation. Even if you don’t win, entering forces you to finish work to a high standard.
Next Steps: Advancing Your Stencil Art Skills
Once single-layer stencils feel comfortable, push into multi-layer work and mixed media.
Exploring Multi-Layer Stencils
Two, three, or four-layer stencils let you build depth, shading, and colour. Start with two layers, using registration marks to align them, and gradually add complexity. Photorealistic stencil work is built on this principle.
Learning from Australian Artists
Follow Australian street artists whose work you admire — many post process videos and time-lapses that show exactly how they build a piece. Studying their layering order and colour choices teaches you more than any tutorial.
Resources for Continued Growth
Short courses at institutions like the National Art School in Sydney cover drawing, printmaking, and street art fundamentals that sharpen your stencil work. Combine formal learning with regular practice on legal walls and you’ll improve quickly.
Patience and repetition are what separate beginners from skilled stencil artists. Every clean line you see on a wall started as a messy first cut. Get involved with the Australian stencil art community — practice at legal walls, share your work online, and set the Australian Stencil Art Prize as your goal. The scene here is welcoming, and there’s room for your work on the wall.
FAQ
What is the best stencil film for beginners in Australia?
Mylar stencil film around 0.2mm thick is the best starting point. It’s durable, cuts cleanly, and is stocked by Art Scene and Eckersley’s. Acetate is a cheaper alternative but cracks more easily.
Which spray paint should I use for stencil art?
Low-pressure artist aerosols give the cleanest results. Montana spray paint, especially the MTN 94 range, and Ironlak are the two most popular choices among Australian stencil artists.
Where can I legally practice stencil art in Australia?
Sydney’s Graffiti Tunnel at Leichhardt is the best-known legal practice wall. Blender Studios in Melbourne also offers workshops and open studio access. Check with your local council for designated legal walls in other cities.
Do I need to enter the Australian Stencil Art Prize as a beginner?
You don’t need to enter immediately, but it’s an excellent goal to work toward. The prize is open to emerging artists and is a recognised platform for launching a stencil art career in Australia.
How do I stop paint bleeding under my stencil?
Spray light coats from 20–30cm away, use repositionable adhesive on the back of the stencil, and press the film firmly to the surface before spraying. Low-pressure cans also reduce bleeding significantly.